At home
How to Hang Your Photo Collage Like a Pro
· 3 min read
You’ve created the perfect photo collage, and now it’s time to give it pride of place on your wall. Hanging it correctly makes all the difference, turning your collage into a stunning focal point.
Gather the Right Tools
Before you start, make sure you have everything you need. This typically includes a measuring tape, a pencil for marking, a level to ensure it's straight, and the appropriate hooks or screws for your wall type. Having these tools ready will make the process smooth and simple.
Find the Perfect Height
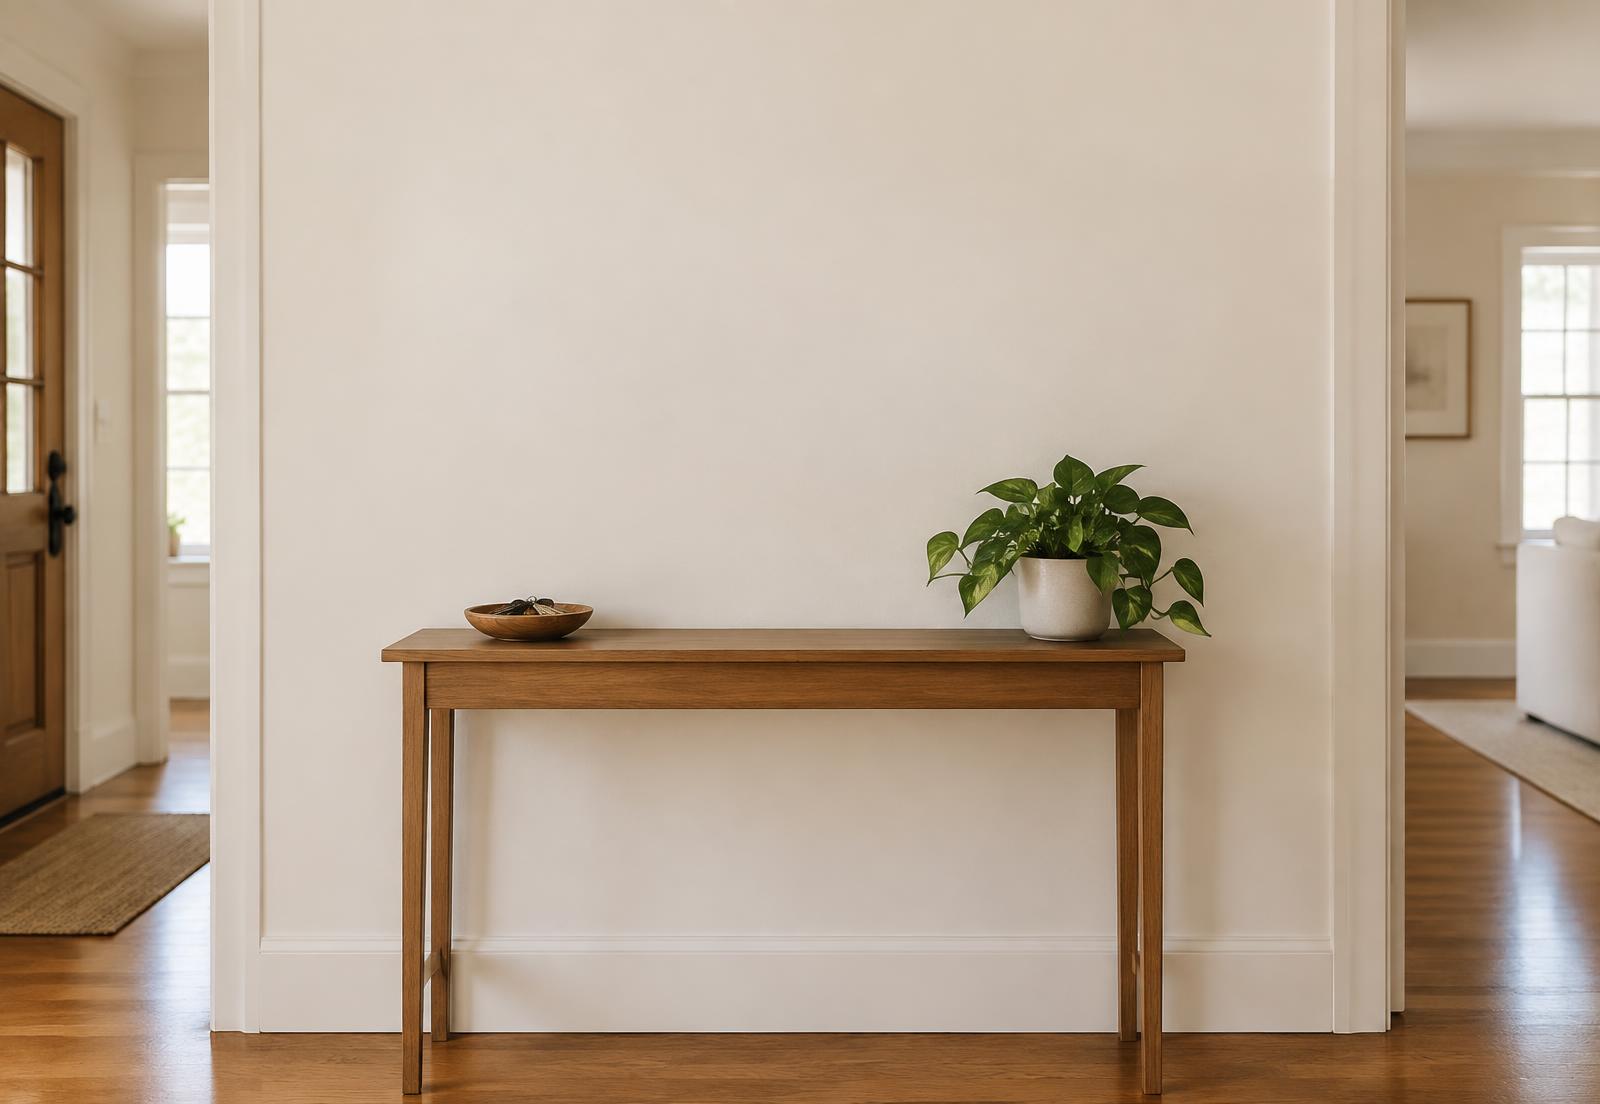
A common rule in galleries and homes is to hang art at eye level. The centre of your photo collage should be approximately 145 to 155 cm from the floor. This ensures the collage is comfortable to view for most people. Measure and mark this central point on your wall with a pencil.
Positioning Above Furniture
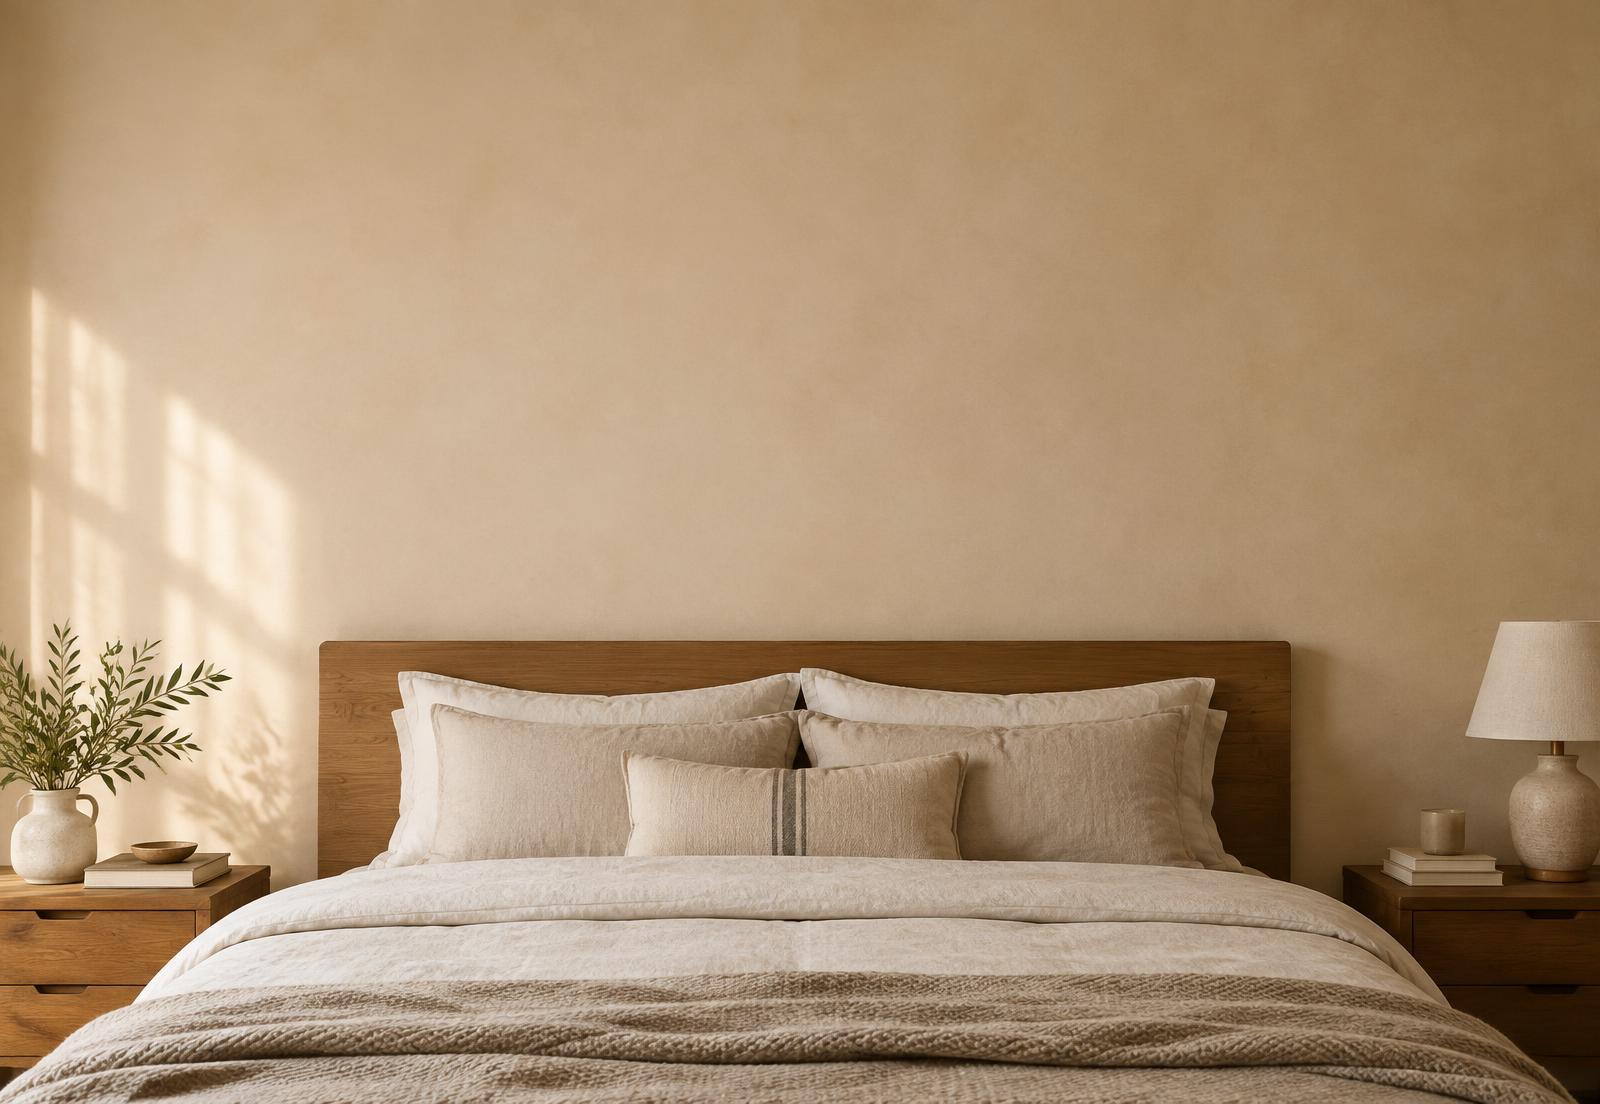
If you are hanging your collage above a sofa or bed, the placement rules change slightly. A good guideline is to leave about 15 to 25 cm of space between the bottom of the collage and the top of the furniture. Also, try to choose a collage size that is about two thirds the width of the furniture below it. CollageGo offers 12 standard sizes to help you find the perfect fit.
Mark, Drill, and Hang
Once you've marked the spot, use your level to ensure your hanging points are straight. Depending on the material of your collage, from a lightweight poster to a heavier acrylic glass piece, install the correct hooks or screws. Now, carefully place your CollageGo creation on the wall, step back, and admire your work!